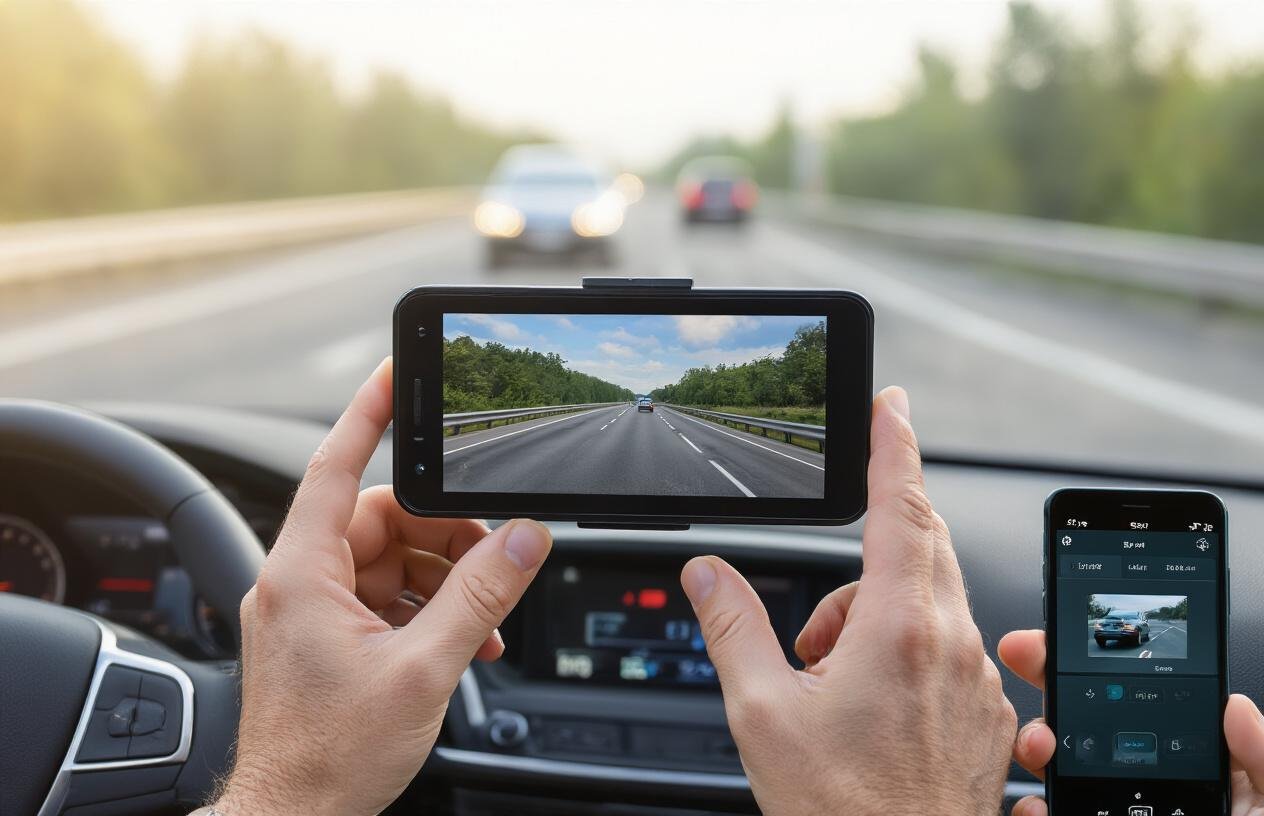
Ever wondered how to install a dash cam correctly to protect yourself on the road? A dash cam isn’t just another gadget; it’s your silent witness when accidents happen. That’s why over 36% of drivers are installing dash cams for protection on increasingly chaotic roads. According to the NHTSA on road safety, having clear evidence during road incidents can significantly aid in determining fault.
Installing a dash cam isn’t just about slapping a device on your windshield and calling it a day. Get it wrong, and you might block your view or miss capturing crucial evidence when you need it most.
This guide walks you through how to install a dash cam properly, ensuring you get optimal footage without creating blind spots or violating any laws. We’ve tested dozens of mounting positions across different vehicle types to find the perfect placement.
If you’re still deciding which dash cam to buy, check our Ultimate Dash Cam Guide 2025 for the best models across all budgets.
But before we dive ihttps://thetictactech.com/best-dash-cam-car-front-rear-2025/nto the step-by-step process, there’s one crucial factor most installation guides completely overlook…
Dash Cam Installation Basics: How to Install a Dash Cam Correctly
Why proper installation matters for optimal footage
Get this wrong, and you might as well not have a dash cam at all.
Before you learn how to install a dash cam, it’s important to choose a quality model that suits your needs. It’s about capturing everything that matters while keeping your view clear and your driving safe.
Bad placement means blind spots in your footage—exactly where that car might hit you. Or worse, glare from the sun washing out the video just when you need evidence of what happened.
The right installation also keeps your dash cam stable. Nobody can read a license plate when your footage looks like it was filmed during an earthquake because your mount is wobbling with every bump in the road.
And let’s talk about theft prevention. A poorly hidden dash cam is basically saying “Hey, break this window and get a free camera!” Good placement makes your investment less obvious to passing thieves.
Dash Cam Types and Best Placement for Installation
Front-Facing Cameras
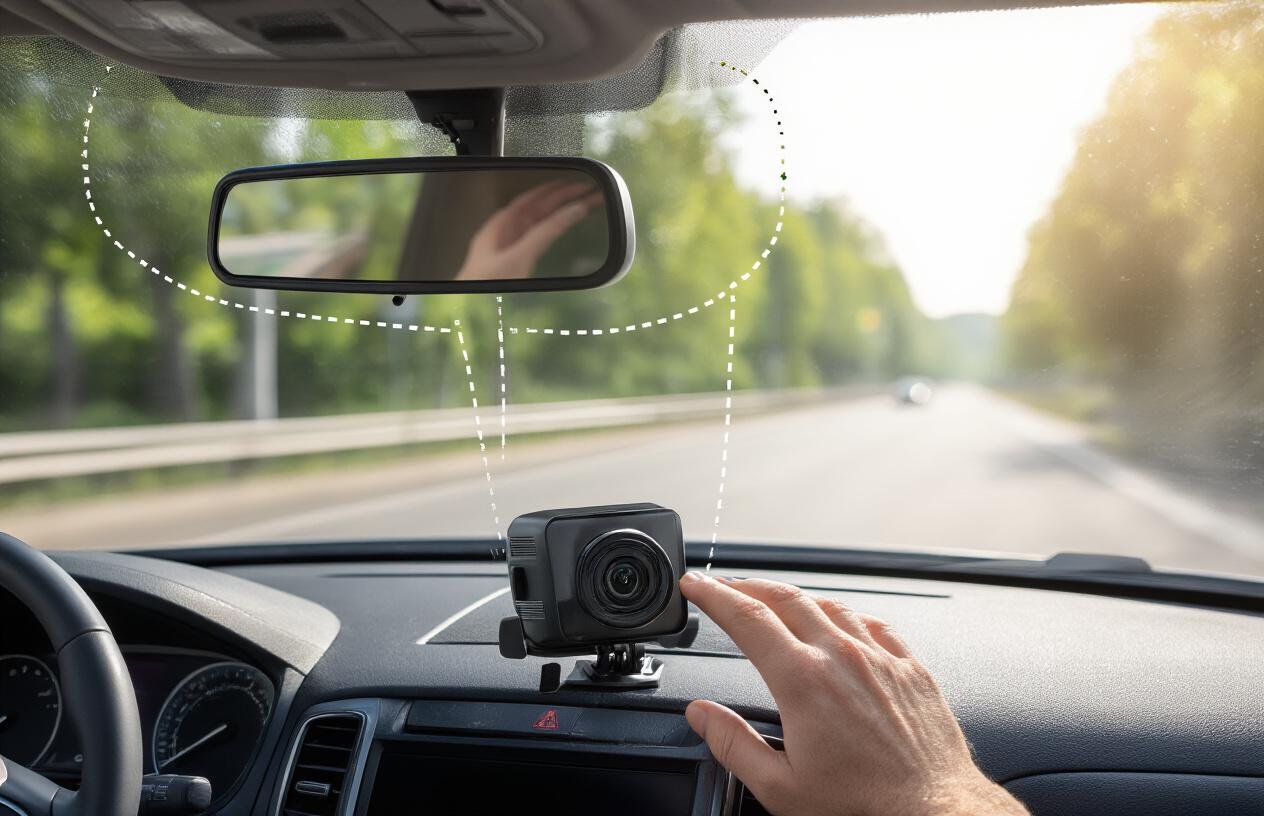
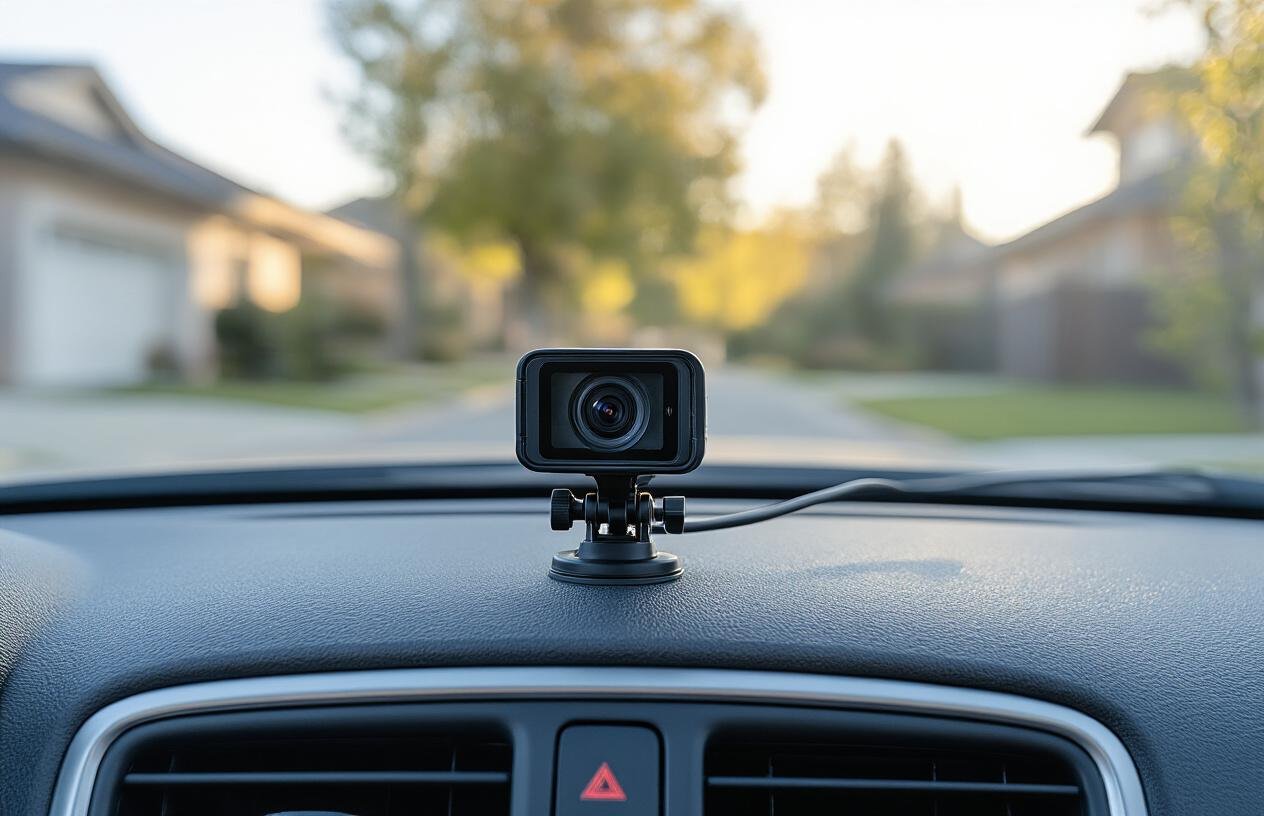
These should sit high and center behind your rearview mirror. This spot gives you the widest view of the road while keeping the camera mostly hidden from your field of vision.
Dual-Channel Systems
For front and rear setups, mount the front camera as mentioned above. The rear camera works best centered on your back window, high enough to see over any passengers or headrests.
Interior Cameras
Rideshare drivers, listen up. Your interior camera needs to capture all passenger seats without blocking your mirrors. Usually, this means positioning it on the windshield slightly offset from center.
360° Systems
These need careful placement to avoid blind spots. The main unit typically goes where a standard front camera would, with satellite cameras positioned strategically around the vehicle.
Legal Considerations Before Installing a Dash Cam
You can’t just slap a dash cam anywhere and hit the road. There are rules, people.
First, check your state laws about windshield obstructions. Some states have strict rules about anything attached to your windshield. California and Minnesota, for example, only allow devices in specific areas of the windshield.
Privacy laws matter too. In some states, you need to inform passengers they’re being recorded, especially if you’re capturing audio. Two-party consent states require everyone’s permission before recording conversations.
Knowing how to install a dash cam correctly can help you avoid issues with warranty or legal compliance. Some manufacturers get touchy about modifications to the electrical system.
And a practical legal tip: make sure your dash cam doesn’t obstruct any safety features like airbag deployment zones or advanced driver assistance sensors. That’s not just illegal in many places—it’s dangerous.
Also, check your state windshield obstruction laws to make sure your dash cam placement doesn’t break any local rules.
While installing your dash cam, it’s also worth upgrading your car’s visibility and safety with Car LED Headlights, ensuring clearer night drives.
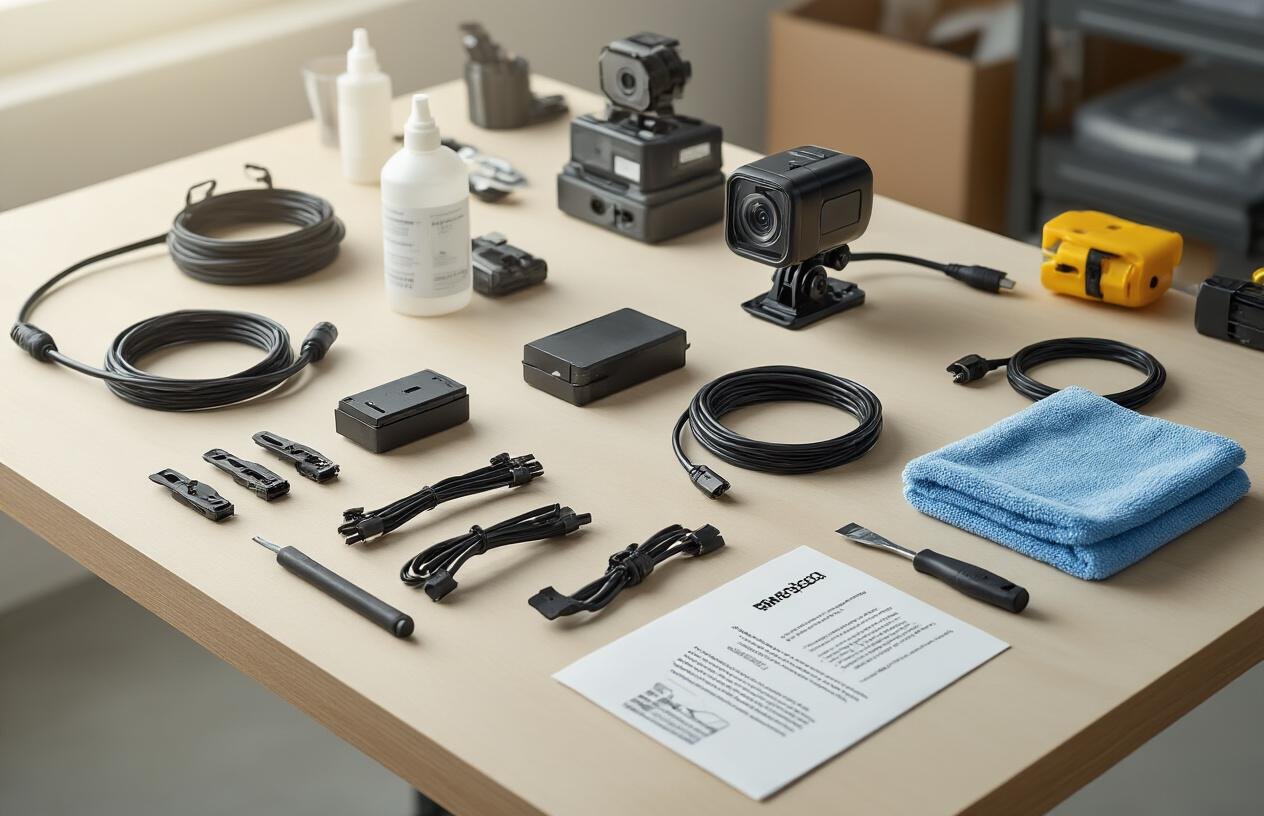
Tools You Need to Install a Dash Cam
Essential tools for a professional installation
Ever tried installing something without the right tools? Total nightmare. For your dash cam setup, here’s what you’ll need:
- Trim removal tools: These plastic pry tools help you access the headliner and trim without scratching your interior
- Wire cutters/strippers: For customizing cable length and hardwiring
- Microfiber cloths: To clean your windshield before mounting
- Alcohol wipes: Ensures the adhesive sticks properly
- Cable clips or ties: Keeps wires organized and hidden
- Fuse tester: Identifies working fuses for hardwiring
- Voltage detector: Safety first when working with car electronics
Don’t skimp on quality here. Good tools make the difference between a professional-looking install and a messy one.
Choosing the right cables and adapters
The cables that came with your dash cam? They might not cut it.
For a cleaner installation, consider:
- Longer power cables: The included cable is usually too short for proper routing
- Mini-USB or USB-C cables: Match your dash cam’s requirements
- Hardwire kit: Connects directly to your fuse box for continuous power. Not sure which kit to get? Use a trusted dash cam hardwire kit for safe and clean installation.
- Add-a-fuse adapter: Lets you tap into existing fuses without modification
- Step-down converter: If your dash cam needs specific voltage
Most dash cam headaches come from cheap cables that fail after a few months. Spend a few extra bucks on reliable ones.
Optional accessories for a cleaner setup
Want your dash cam installation to look factory-installed? Grab these:
- Cable concealer tubes: Flexible plastic tubes that hide cables completely
- Mirror tap adapter: Powers your dash cam through your rearview mirror
- GPS module: If your dash cam doesn’t have built-in GPS
- Polarizing filter: Reduces dashboard reflections and glare
- Dash cam parking mode kit: Monitors your car while parked without draining the battery
The difference between an amateur and pro install often comes down to these little extras.
Pre-installation checklist
Before you drill holes or stick anything to your windshield:
- Test your dash cam completely before installation
- Map your cable route from camera to power source
- Check local laws about windshield mounting position
- Verify fuse box location and identify suitable fuses
- Charge any internal batteries fully
- Format your memory card in the dash cam
- Clean mounting surfaces thoroughly
- Check your car’s manual for airbag deployment zones to avoid
Taking 15 minutes to run through this checklist can save you hours of frustration later.
Alongside your dash cam setup, consider upgrading your vehicle’s audio with our Complete Guide on Choosing the Right Car Amplifier for a better in-car experience.
How to Position Your Dash Cam for Best Footage
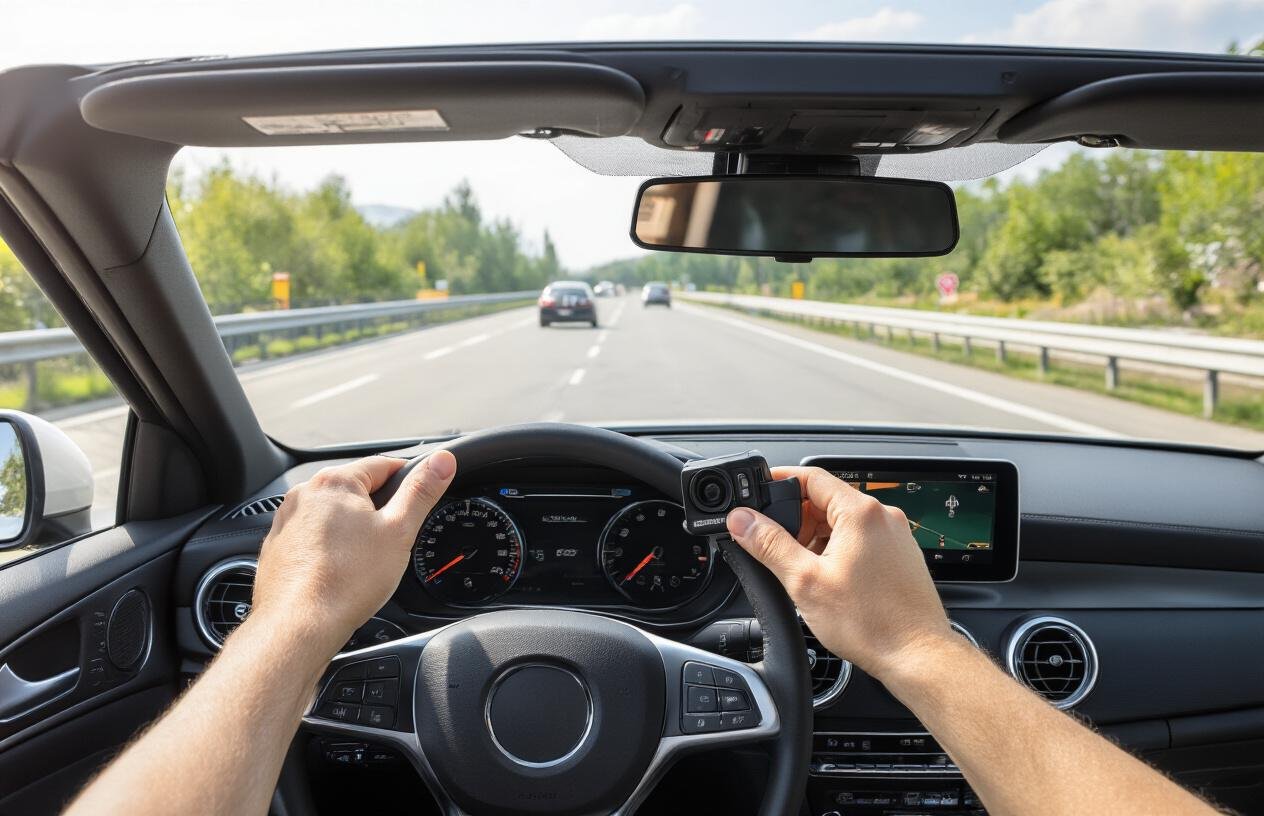
A. Finding the sweet spot behind your rearview mirror
The space behind your rearview mirror is dash cam gold. Why? It’s practically invisible from the driver’s seat while giving your camera an unobstructed view of the road.
Correctly positioning your camera is a crucial step in learning how to install a dash cam effectively. This position keeps your camera out of your line of sight but still captures everything happening in front of your car.
Most drivers don’t realize this location also minimizes distractions. No blinking lights in your peripheral vision. No gadget catching your eye when you should be watching the road.
B. Ensuring proper road visibility without obstruction
Nothing’s worse than reviewing footage only to find half your view blocked by your hood or dashboard.
For ideal placement:
- Position the camera so it captures roughly 60% road and 40% sky
- Make sure no part of your vehicle’s hood takes up more than the bottom 15% of the frame
- Check that your wipers clear the entire area of windshield your camera views through
Don’t mount it too low! Rookie mistake. If your dash cam only sees what’s directly in front of your car, you’ll miss important context in accidents.
C. Adjusting for optimal field of view
Wider isn’t always better with dash cams. Super wide-angle lenses can distort the edges of your footage, making license plates impossible to read.
The sweet spot? A camera with 140-160 degree field of view mounted centrally.
Some pro tips:
- Tilt the camera slightly downward to reduce sky glare
- If your cam has adjustable lens angles, set it to capture more of the lanes beside you at intersections
- For urban driving, a more narrow focus helps capture details like pedestrians and street signs
D. Testing different angles before final mounting
Don’t commit to a position until you’ve tested it! You’d be surprised how many people permanently mount their dash cam, only to discover it’s capturing the wrong angle.
Try this quick test routine:
- Temporarily mount the camera with painter’s tape
- Record a short drive that includes turns, stops, and highway driving
- Review the footage on a large screen (not your phone)
- Pay attention to what’s visible during different driving situations
- Adjust and repeat until perfect
This test-adjust-test approach saves major headaches later.
E. Considerations for dual-channel (front and rear) setups
Running both front and rear cameras requires some extra thought.
For your rear camera:
- Mount it high enough to see over passengers’ heads
- Center it for balanced coverage
- Ensure the cable can reach from front to rear without stretching
The trickiest part? Finding a clean cable route. Most pros run the rear camera wire along the headliner, down the passenger-side pillar, under the door sills, and into the trunk.
Remember that rear cameras typically have narrower viewing angles than front ones. This is actually good – you need detail more than width when someone rear-ends you.
Final Steps to Install Your Dash Cam Cleanly
A. Properly cleaning the windshield mounting area
You know that frustrating moment when you stick something to your windshield and it falls off the next day? Yeah, not happening with your dash cam.
Grab some isopropyl alcohol (70% or higher) and a microfiber cloth. This combo is your best friend for dash cam mounting. Regular glass cleaner just won’t cut it – it leaves invisible residue that weakens adhesion.
Wipe down the area where you’ll mount the camera, typically behind the rearview mirror. Give it a good scrub with the alcohol-dampened cloth, then immediately dry it with the clean side. Any fingerprints or dust particles will compromise the adhesive bond, so be thorough.
Wait at least 60 seconds for the alcohol to completely evaporate before moving to the next step. Trust me, this extra minute saves hours of frustration later.
B. Applying the adhesive mount correctly
The mount is literally the foundation of your dash cam setup. Mess this up, and everything else falls apart (sometimes literally).
Most dash cams come with either a suction cup or 3M adhesive mount. If you have options, go with the adhesive – it’s more stable long-term.
Remove the backing from the adhesive pad and position it carefully. Don’t rush this! Once it sticks, repositioning is a pain. Press firmly against the glass for at least 30 seconds, applying consistent pressure.
Many people make the rookie mistake of attaching the camera to the mount first. Don’t. Mount first, then camera. This gives the adhesive time to set before adding weight.
Give the mount 24 hours to fully bond before attaching your camera if possible. I know you’re excited, but patience here pays off with years of stable recording.
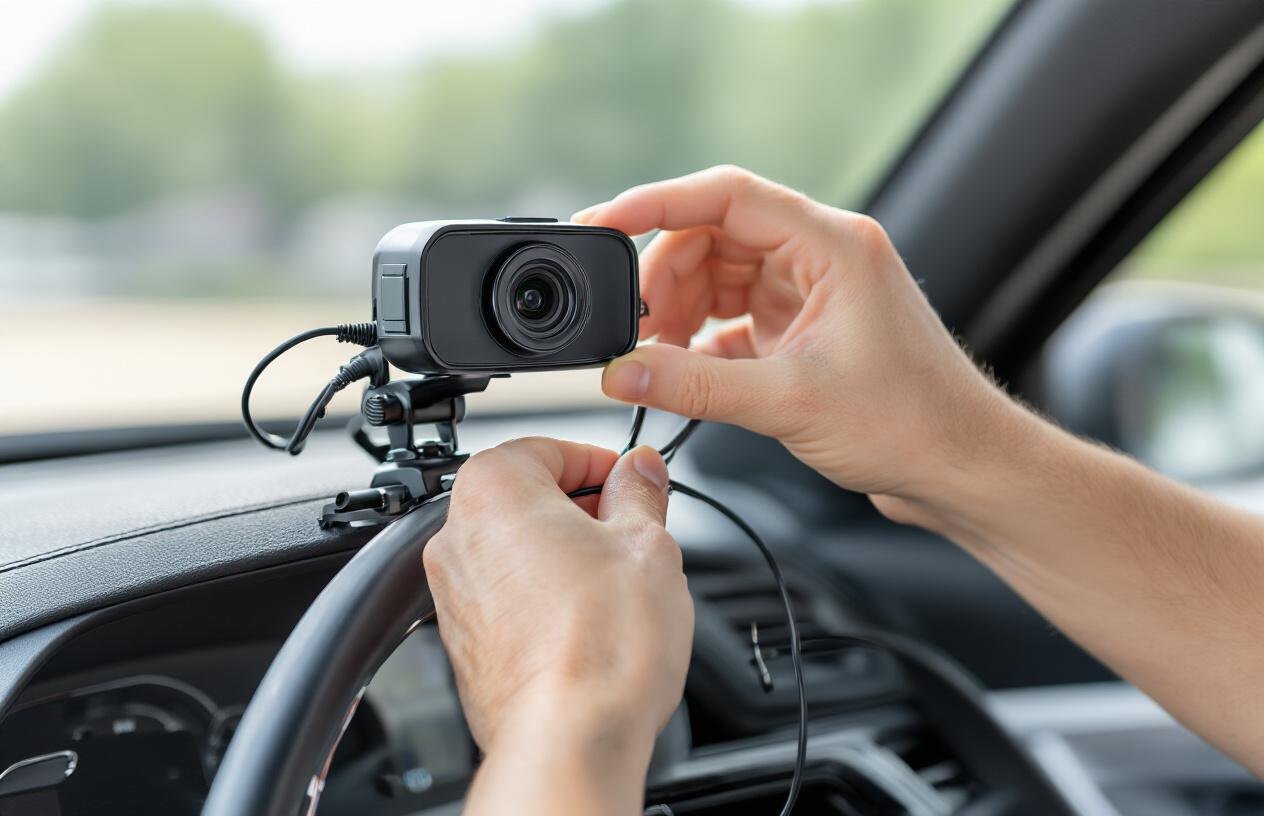
C. Routing cables along the headliner and A-pillars
Nothing screams “amateur job” like cables dangling across your dashboard. Here’s how the pros do it:
Start at the camera and work your way toward your power source. Tuck the cable into the gap between your headliner and windshield. The headliner is that fabric-covered panel above you. Most cables will slide right in without tools, but a plastic trim tool helps for tight spots.
When you reach the A-pillar (that’s the front pillar between your windshield and front window), carefully tuck the cable behind it. Some A-pillars pop off easily; others have clips. If yours doesn’t budge, don’t force it – just tuck the cable along the edge.
For hardwired installations, run the cable down the A-pillar toward your fuse box. For cigarette lighter power, continue routing along the dashboard edge or under it.
D. Concealing wires for a professional-looking finish
The difference between an okay dash cam install and a great one comes down to these final touches.
Use cable clips with adhesive backs to secure any sections that won’t stay hidden. These tiny clips are cheap insurance against cables that work themselves loose over time.
For the vertical drops along your A-pillar, consider using matching electrical tape if your cable color stands out against your interior. Black cable against black trim? Leave it. But a white cable needs camouflage.
Got excess cable? Don’t just stuff it somewhere. Use velcro cable ties to neatly bundle it. Then tuck the bundle under your dashboard or glove compartment.
Check your finished work from the driver’s seat. Can you see any wires in your normal field of vision? If yes, go back and tuck them better. The mark of a pro installation is that passengers won’t even notice you have a dash cam until you point it out.
Testing Your Dash Cam After Installation
A. Performing a recording test to check field of view
You’ve mounted your dash cam, but how do you know if it’s actually capturing what you need? Time for a test drive.
Start by turning on your dash cam and going for a quick spin around the block. When you get back, review the footage. Can you see both sides of the road? Is your hood visible at the bottom of the frame? The sweet spot is capturing about 70-80% of the road ahead with a bit of your hood as a reference point.
If the camera is pointed too high, you’ll miss important details close to your car. Too low, and you’re just filming your hood. Adjust accordingly and test again until it’s just right.
B. Adjusting settings for day and night recording
Your dash cam needs different settings for sunshine and streetlights. Most dash cams have automatic day/night modes, but they’re worth double-checking.
For daytime, make sure your resolution is set to the highest your SD card can handle. This gives you the best chance of capturing license plates and road signs.
For night recording, look for settings like:
- WDR (Wide Dynamic Range)
- HDR (High Dynamic Range)
- Night Vision
These help balance bright headlights against dark roads. Drive at night, review the footage, and tweak until headlights aren’t blowing out the entire screen.
C. Ensuring stable power connection
Nothing’s worse than discovering your dash cam wasn’t recording when you needed it most. Power issues are usually the culprit.
If you used the cigarette lighter, make sure:
- The adapter sits firmly in the socket
- The socket doesn’t cut power when the engine is off (if you want parking mode)
- The cable doesn’t wiggle loose over bumps
For hardwired setups, check that:
- All connections are tight
- Fuse taps are properly seated
- Low-voltage cutoff is set correctly to prevent battery drain
Turn your car on and off several times while watching the dash cam’s power indicator.
D. Making final position adjustments for perfect footage
After testing, you might notice some issues that need fixing:
- Glare from your windshield or dashboard
- Windshield wipers blocking the view
- Camera vibration on rough roads
Small adjustments make a huge difference. Try moving the camera slightly higher to avoid dashboard reflections or a bit to one side if there’s windshield glare.
Some dash cams have polarizing filters available that dramatically cut reflections. Worth every penny if glare is ruining your footage.
Finally, make sure all cable slack is properly tucked away and the mount is 100% secure. Even tiny camera movements can make footage unusable when you need it most.
Installing a dash cam is a worthwhile investment that offers peace of mind and protection on the road. By following the five key steps we’ve outlined—understanding placement basics, gathering the right tools, positioning for maximum coverage, securing the device while hiding cables, and thoroughly testing your setup—you can ensure your dash cam performs optimally when you need it most.
Remember that proper installation not only maximizes video quality and coverage but also prevents your dash cam from becoming a distraction or obstruction while driving. Take your time with the process, and don’t hesitate to make adjustments as needed for the perfect placement. Your future self will thank you when that footage proves invaluable after an unexpected road incident.
If you want a reliable, budget-friendly model, read our Flipbeat FB-1 WiFi Dash Cam Review to understand why it’s a solid choice for your installation.